Updated Jun 9, 2026
How to Break in Boots: Expert Tricks for Tough Boots
This post may contain affiliate links that at no additional cost to you, I may earn a small commission from.

Expert Verified By: Trenton Potter, Cobbler & Footwear Expert
Sure, one day in the future, your boots will have conformed to the shape of your foot and fit as though they were custom made for you.
Right now, though, the leather is stiff, thick, and giving you blisters and pain. Is there a way to reduce break in time? Or is it a rite of passage to get to that supreme, long-term comfort?
Our Editor-in-Chief, Nick, met up with expert cobblers Trenton and Heath from Potter & Sons to put together every tip and trick we’ve collectively learned to make it easier to break in new boots — and we’re including the popular mistakes you should avoid.
Key Takeaways:
Some boot brands use softer materials to make for an easier break in, but if you’ve already selected your boots, we suggest thick socks, conditioning the leather with shoe cream to soften it, massaging the boots when you’re not wearing them, and applying moleskin or bandaids to hot spots before you get a blister.
Our favorite tip is to take a break from wearing the boots before they cause damage. Let your feet recover between wears and bring a spare pair of shoes with you so you can change out of the boots before they hurt too much.
I’ve tested and broken in dozens of boots, made my own boot leather, used it to make my own boots, and interviewed expert bootmakers and cobblers all over the world to get the best insights into how to break boots in.
Best of all, this article was co-written by YouTube’s most famous cobbler brothers, Trenton and Heath. Here are our tips.
1. You Can Buy Boots With an Easier Break In
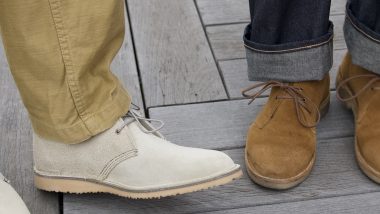
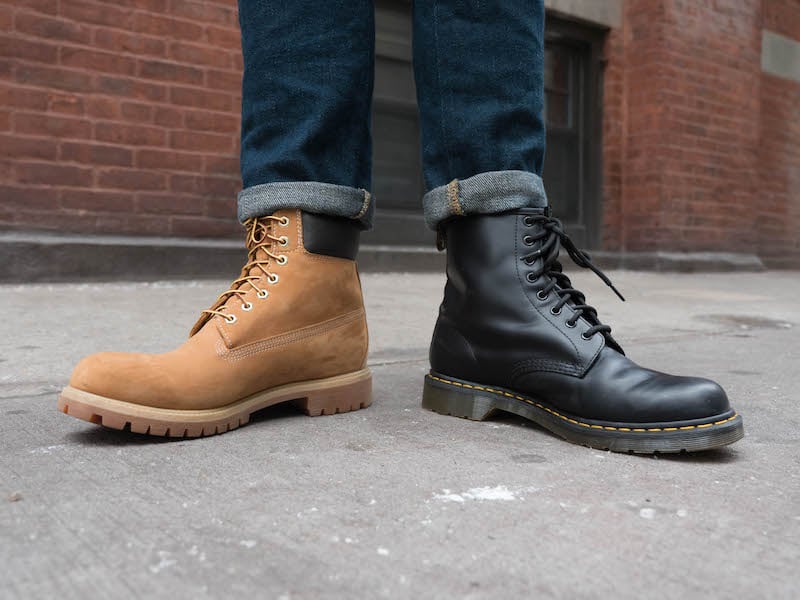
If you haven’t bought your boots yet, you should know that there are plenty of brands that design boots to be easier to break in, while still making boots that are longlasting, water resistant, and resoleable.
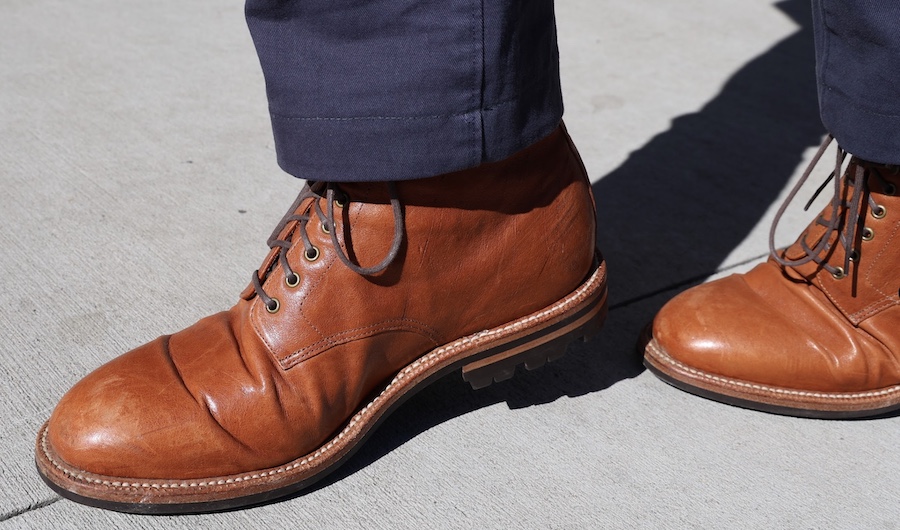
Much of the tricky break in stems from a boot’s stiff leather insole, but brands like Thursday Boot Company (above), Helm, and Thorogood use softer insoles.
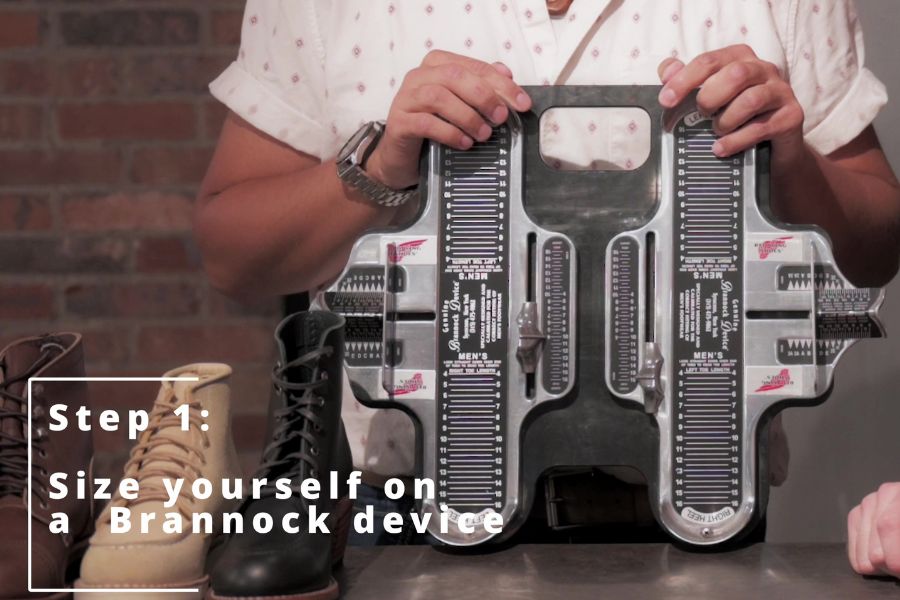
2. Start With the Right Size
- You’ll get blisters if your boots are too big or too small
- Get properly sized on a Brannock device and find out if you have wide or narrow feet
“We get a lot of people that send in boots that they’ve bought too small and they want us to stretch them out, and that’s not always possible,” says Trenton.
There’s not much you can do about a new pair of boots that are too small in the length. If your toes are jammed against the front of the boot, you’re just out of luck.
If your boots feel too narrow, you may have options. Most will stretch out a little bit in the width as you wear them, and some cobblers can stretch the width even further.
How much they can stretch depends on a lot of factors: a thin suede will stretch out more than a thick work boot.
But the best thing to do, of course, is to get the right size in the first place. Most guys base their shoe size on their sneakers, but those usually aren’t your “true size.” You can get your true size by getting sized on a Brannock device in a shoe store.
My Brannock size is 11.5, most of my sneakers are 12, most of my boots are 11. Ideally, you can talk to a sales representative and find out what size you should order based on your Brannock size.
It’s not environmentally friendly but if you’re buying online and they have free returns, you can order two sizes and return the wrong one.
Further Reading

How to Know Boots Are Too Big (and 3 Tips to Fix ’em)
There are a few tips I’ve learned that have saved me when I’ve picked up a boot that’s a size too big.
Learn more →
3. Walk Around In the Thickest Socks You Can Find
“Wear them with thick socks for a while, even if it makes them feel a little small,” says Heath. “The socks will protect your feet a little, plus leather is very porous: as moisture and heat gets into the leather, it’s going to start to stretch out.”
Got chunky socks? Great. Start with the thickest sock you have (or two if you can manage it!), and wear your new boots around the house. Super thick socks will speed up the process of stretching the leather.
Further Reading

The Best Boot Socks You Can Buy (CHUP vs Smartwool vs Darn Tough)
We’ve tested a ton of different boot socks. Here are our favorites. Learn more →
Out-of-the-box leather is as stiff as it will ever be, and it softens best with a combination of gentle pressure, heat, and moisture — in other words, all the things your feet will bring to the boots as you walk around in them.
In some ways, a thick pair of socks will enhance this process by warming your feet and pressing against the inside of the boot, adding some extra pressure.
“I’ve actually found that this is one of the best methods for me, whether it’s dress shoes or boots” says Trenton. “I will often wear a thicker pair of socks when I first get them out of the box, and I’ll wear them around my house throughout the day for a couple of days.”
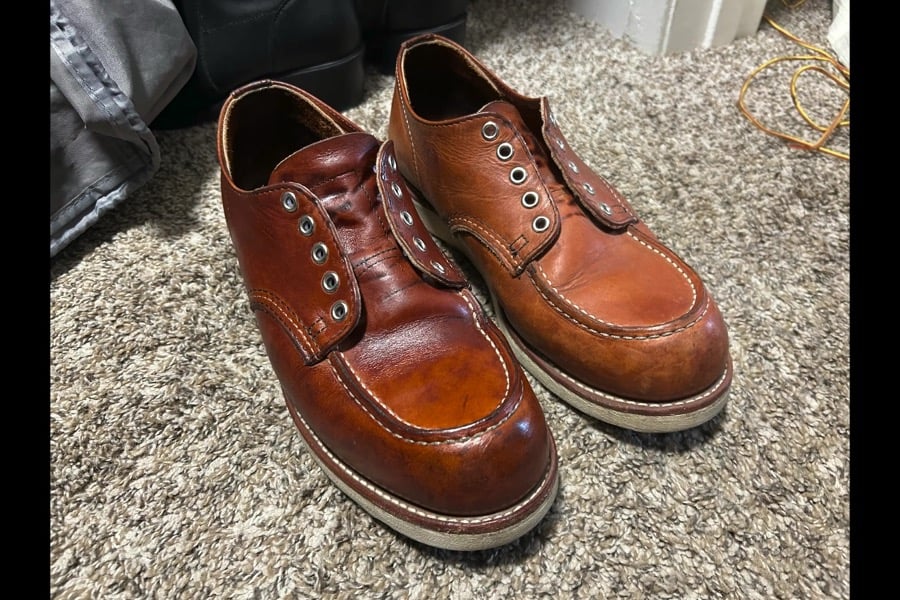
4. Soften the Leather With Conditioning Cream
This method is useful if the leather upper is too stiff.
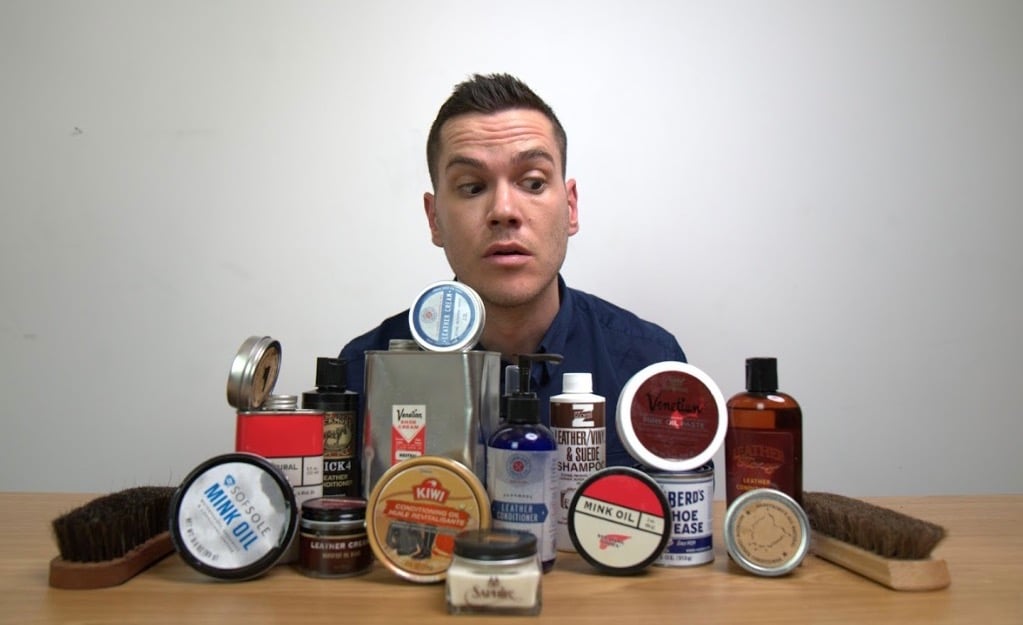
Moisture helps leather stretch. Applying a leather softener, like Tenderly Leather Softener, or a conditioner like Venetian Shoe Cream, makes the leather more supple and can increase the “give” of the fibers.
Further Reading
The Best Boot Conditioners for Different Use Cases
Maybe you want leather that’s softer, more waterproof, better looking, or all three — there’s an option for you here. Learn more →
5. Massage Your Flex Points
Tough break ins can come from the flex points, and there are two main ones: the ankle and the ball of the foot, right where your foot bends.
Those are the places that the leather will flex as you take a step, and need some work during the initial break-in.
Try this: when you’re watching TV, work those areas with your hands, bending the sole back and forth at the crease and crushing the leather fibers around the heel and ankle.
The best time to do this is when you’ve worn your new boots for a while, just after you take them off. (This is when leather will be more pliant.)
6. Don’t Lace Your New Boots Too Right
“Leave the boot a little bit looser,” says Heath. “This way you’re not putting so much pressure on the leather, but you’ll still be able to get a little bit of flex in there and make progress on the break in.”
7. Protect Your Hot Spots With Bandaids or Moleskin
Before you get blisters, the areas of your foot that will get blisters will feel hot. They’re called hot spots.
You don’t have to let the blisters manifest. Note where those tender spots are and slap on a bit of moleskin (like Dr. Scholl’s brand) or a Band-Aid. Large, fabric Band-Aids work best for this, as the plastic ones tend to get slippery and don’t stay in place as well.
Stop Blisters

Dr. Scholl's Moleskin Padding
$9.72
$7.23
Check Best Price
Our experts recommend moleskin padding to help prevent blisters when breaking in a new pair of boots.
We earn a commission if you make a purchase, at no additional cost to you.
05/31/2026 10:00 am GMT
8. Bring Extra Shoes With You
“Another thing that you can do is bring an old pair of boots or sneakers with you when you break in your new boots,” says Trent.
This is the tip I always find myself giving people. Leave your home in your new boots, and bring some comfy shoes in a bag with you.
If you change out of your boots once your feet start to feel sore but before you start getting blisters, then you’re getting the best of both worlds: you’ve made progress in the break in but avoided the injuries that come with it.
“It’s best to wear your new pair earlier in the morning before your feet really start to swell,” Trenton says. “And before it starts to hurt too badly, you can take those off, set them aside, and then put on your sneakers or old boots.”
[Best: 10 Best Boots for Wide Feet]

9. Give the Break-In a Break
This is a little similar to the last tip: you don’t have to rush this.
(OK, some guys need to break in boots for their job and they can’t take a day off, but in case that doesn’t apply to you…)
If you take a break from your boots once they start to make your feet sore but before any skin actually breaks, then you’ll be able to walk more easily the next day.
And this will probably result in a faster break in because you’ll be able to wear those new boots more frequently. Because you won’t be crippled from the last break in attempt that you took too far.
[Learn more: 3 Reasons Your Boots Need Shoe Trees.]
10. Scuff Up the Heels
“The next thing you can do is scuff up the heels,” says Trent. “Now, where’s the one place that so many of us get blisters when we’re wearing our shoes? It’s always in the heel area. And one reason that happens is because so many of the shoes we wear are lined on the inside.”
Well worn boots often bulge out at the heel more than new boots because they’ve been worn enough to shape to your heel. At first, though, you’re getting friction on that heel.
You can speed the development of the heel pocket by taking a piece of fine-grain sandpaper and lightly sanding the inside of the heel area.
You might be cringing at the thought of damaging the leather, but you don’t need to go hard; just scuff it a bit so that the boot can grip your sock a little better and reduce the friction.
11. Use a Boot Stretcher to Stretch Them Out
“If they’re not broken in, put a stretcher in them or take them to a place to be stretched,” says Trenton.
Dedicated boot guys sometimes buy a shoe stretcher. It looks like a shoe tree but it has a crank you can use to increase the width of the wooden “foot” you’ve put inside.
These are best used in combination with a conditioner or leather softener to break in your new boots.
“We usually tell our customers to leave the shoe stretcher in there for three to five days because you don’t want to rush it,” says Trenton. “The fibers of the leather have to really stretch out. So the longer you can leave it on, the more it gives those fibers time actually to stretch out and stay there.”
“If you stick them in and you just start cranking full blast, then a lot of times it’s too much pressure for the leather and also for the stitches on the welt,” adds Heath.

12. Try a Different Lacing Combo
If you’re encountering tightness around your arch or ankles and want to give your foot a little more room to flex, skip some of the eyelets when you lace up your boots.
This can be particularly helpful when you’ve got a pair of boots with a gusseted tongue, which adds extra bulk to break in.
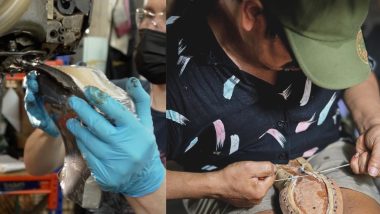
13. Take Your Pair of Boots to a Professional
If you really can’t stand the break in (or the prospect of it), then a cobbler may be able to help.
They have specialized stretching tools that can expand just the problem areas on a pair of boots, or add padding to an insole or arch.
A quick Google search for “shoe repair near me” or “cobbler near me” will turn one up.

Bad Ways to Break in Boots
Now: what not to do to break in a pair of boots properly.
Many articles on the internet that claim to have a super-quick or easy fix for too-tight boots are based on old wives’ tales perpetuated by recycling content from old message boards, and most of those methods can hurt your feet or damage your boots.
No matter how badly you want to prevent blisters, get a comfortable fit, and break in your boots, avoid doing the below.

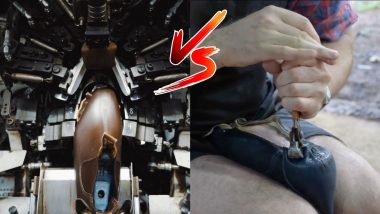
Don’t fill your boots with water and let them dry.
This method is sometimes recommended for work boots and hiking boots, often perpetuated by military types for quickly breaking in boots.
That might work in some cases, like with modern boots (especially hiking boots or inexpensive work boots) that have fast-drying, synthetic materials like nylon, Poron, and EVA.
But when it comes to heritage boots that are made with traditional materials like leather and cork, too much water can cause the leather and other materials to rot, warp, or shrink.
Don’t wear them with wet socks
Wearing wet socks can cause blisters. It can also cause your boots to get really stinky.
As you wear wet socks and your boots heat up, bacteria will grow and bring with it odor and rot. When you leave your boots to dry overnight, you’re basically creating the perfect environment for mold and other microorganisms to invade your boots.
These are really tough to get out, and you might be stuck with stinky boots.
Don’t blast your boots with a hair dryer
New boots have a lot of oil in the leather to soften it and keep it from getting brittle. Heat will remove these oils from the leather and make it more brittle. More stiff. That’s not what you want at all!
The leather won’t stretch much, you’ll waste leather conditioner trying to soften them again, your boots won’t break in as much as wearing them or bending them, and you may cause damage to the leather.
Wrapping Up
The internet is full of terrible ideas to quickly break in boots (although all of our ideas are good, vetted, and fact-informed), so skip shortcuts and use your common sense.
The break-in period can be tolerated without significant pain or damage as long as you follow our tips above and wear your boots regularly to power through it.
Go slow, pay attention, and remember that breaking in quality boots is a process that takes a couple of weeks, tops—hardly a trade-off when you think about the years of comfortable wear you’ll get out of your favorite boots after it’s done.
[Related: My list of The Best Boots for Men]
FAQs: How to Break In Boots
How do you break in a boot fast?
You can speed up the process by wearing thick socks, bending them with your hands at the breaking point, treating your leather with a leather conditioner, or taking them to a professional cobbler.
How long do boots take to break in?
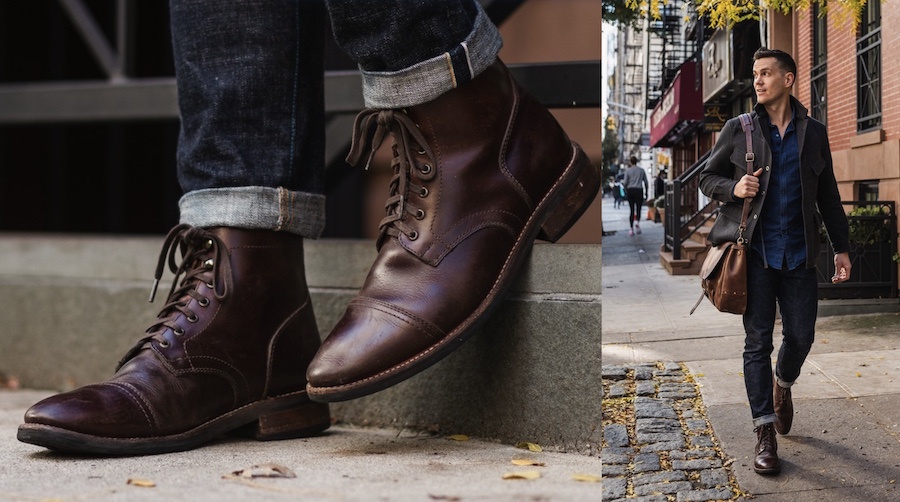
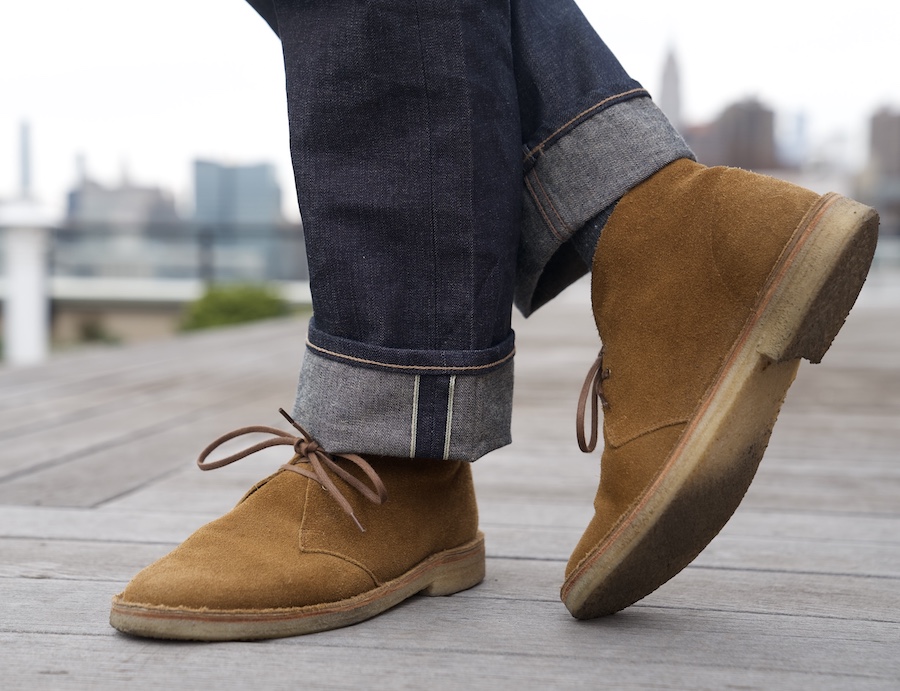
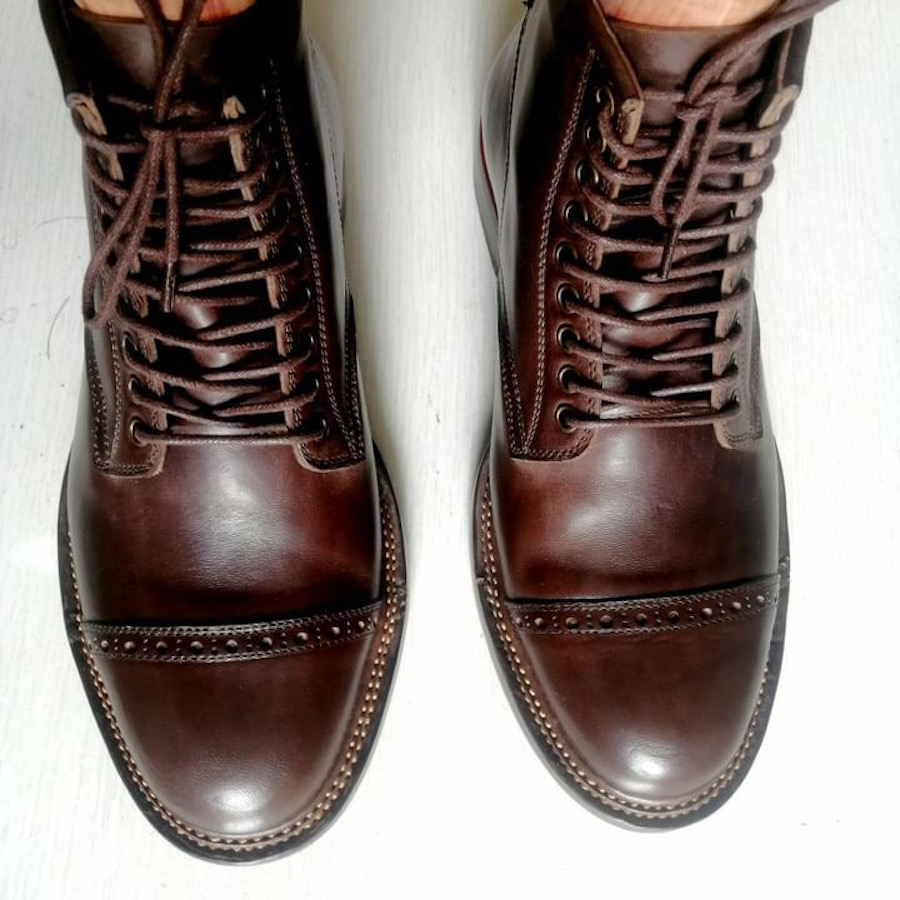
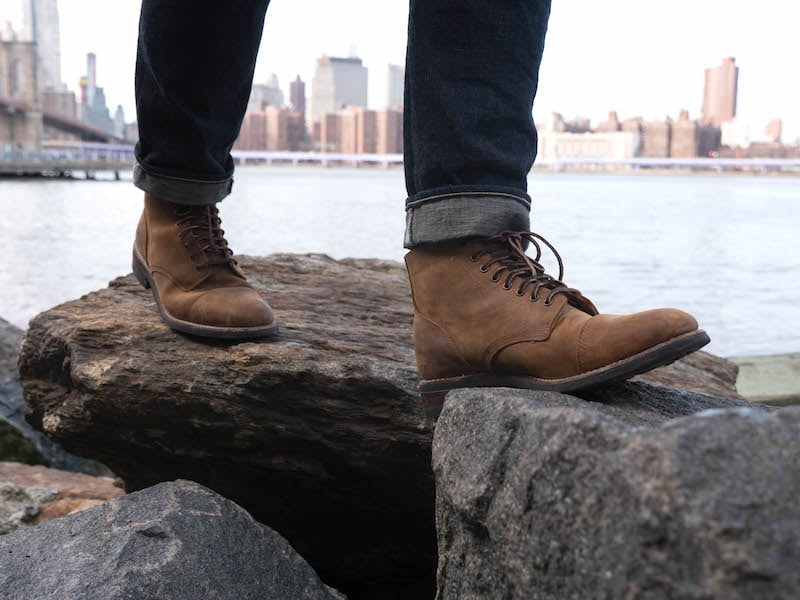
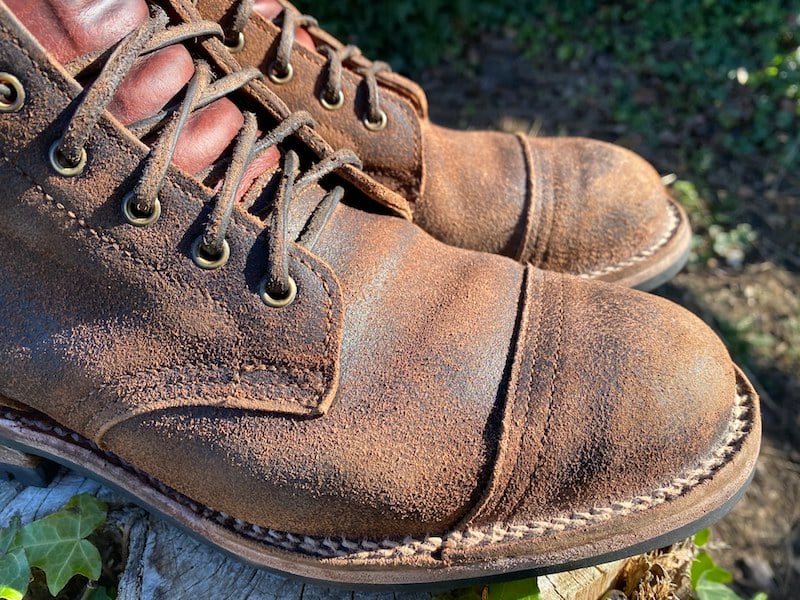
This depends on the type of materials boots like Thursday Boot Company’s Captain are comfortable out of the box. Boots made with thicker, more durable materials like Red Wing’s Iron Ranger can take weeks to break in.
How do you break in boots so you don't get blisters?
Make sure they fit properly, wear them for a short period of time, and bring an extra pair of shoes with you so you can change into more comfortable shoes if you feel hot spots.
How to break in Thursday Boots?
Thursday boots are designed to be comfortable out of the box. If you feel that you need to break them in, wear them for 15-20 minutes per day or until your feet feel discomfort. Tip: bring an extra pair of shoes with you in case your feet hurt. You can also buy a shoe tree and condition your boots to break them in faster.