How I Learned to Make Boot Leather in Mexico
Through a series of unlikely events, I was fortunate enough to get invited to Lefarc Tannery to experience a leather making workshop.
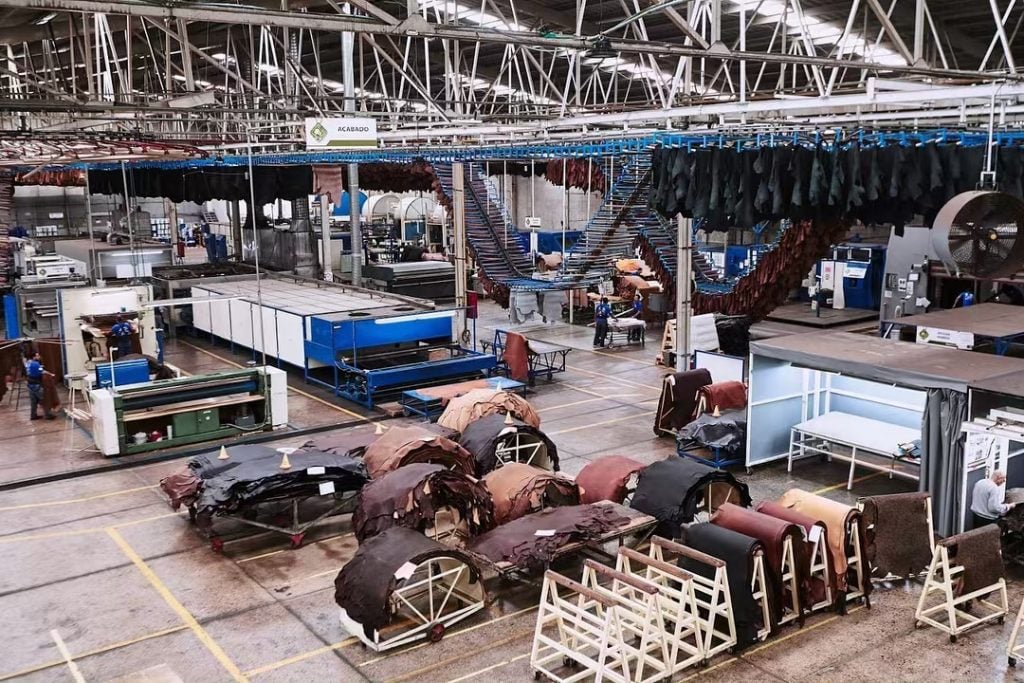
Situated in the capital of Guanajuato smack bang in the middle of the country, the city of León is world renowned as the footwear capital of the Americas. From Thursday Boot Co’s $200 boots to Chisos’ $600 cowboy boots, the city produces every tier of high quality footwear and they deserve their reputation as a hub of truly exceptional craftsmanship.
In addition to bootmakers, León is also home to world class leather tanneries, and Lefarc is one I’ve been following since I started Stridewise.
You may have heard that the vast majority of leather is made through a process called chrome tanning, and you may have heard that it’s terrible for the environment. This isn’t true: it can be terrible for the environment, and badly regulated tanneries have been responsible for a ton of health problems in developing countries, particularly India.
But there are safe and responsible ways to do the process, and Lefarc is a stellar example of a truly environmentally friendly tannery.
They have cutting edge tech that not only reduces water consumption by 50 percent, but the water waste they produce is treated to ensure there’s zero Chromium-6, the harmful byproduct known for its ill effects.
Anyway, it’s a cool place and I learned a ton. You can learn more about that side of the business in this article about Lefarc Tannery’s social responsibility.
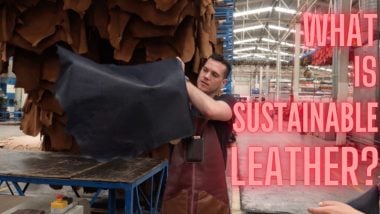
This video is the meat of this article by the way; there’s more info in it than from this article 😀
But I Made My Own Boot Leather!
The reason Lefarc brought me down was because they invited a big group of their clients to get hands-on experience with the product. That meant making leather.
So here’s a guide on how to make, or finish, leather. We’ll start with choosing a hide, then we’ll dye it, add oil and wax, and lastly tumble it for softness.
Choosing A Type of Leather
First, we need to know what kind of leather we’re going to make. Humans (and maybe even Neanderthals) have been tanning leather for tens of thousands of years, possibly longer. (Vegetable tanned leather, the way we did it before the 19th century, has an eco-friendly tendency to biodegrade.) Over time, there’s been quite a lot of different animal hides tanned in a few different ways. Some are suitable for boots, others (like emu leather, yes, I’ve asked tanneries, I thought it’d be great to make emu boots) aren’t quite tough enough in the right ways.
During some time periods and still today in some countries — like Morocco, where I’ve visited tanneries — the tanning agents for leather included urine and dung. Fortunately, we don’t have to do that anymore.
[Learn More About Leather: The 9 Best Leathers for Boots]
Animal Hide
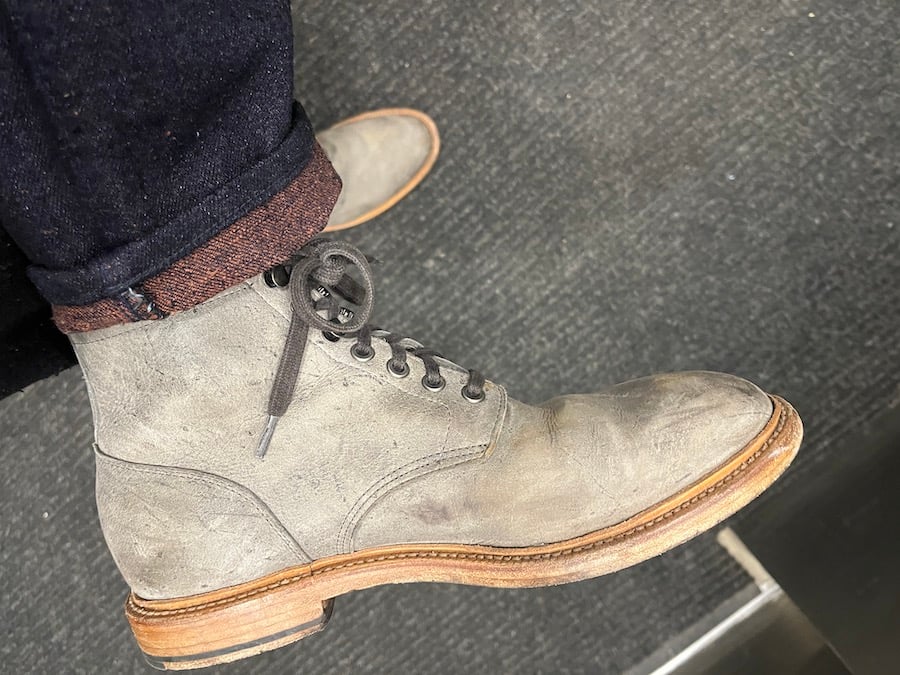
They type of hide will determine a lot about how the final product looks and performs. A calf’s skin is very different from a kangaroo hide or something like shark hide. And yes, there are sharkskin boots out there.
Using the example of calfskin and kangaroo, calfskin is the go-to for dressy footwear because the fibers are close together, it doesn’t wrinkle much, the grain is fine, and the appearance is relatively smooth. Kangaroo, on the other hand, is much tougher, but it has a more conspicuously grainy look to it and tends to bear scars from the animal’s life. (Much like the kudu in the boots above.)
I decided to pick goatskin for my boots. Instinctively, I wanted to choose it because it’s so uncommon, but I then learned that goatskin is, pound for pound, stronger than cowhide, plus it weighs less. It has a more irregular, inconsistent grain, which is the main reason it’s less popular. (This is also why it was common in Air Force leather jackets during the World Wars: we were low on cowhide, goatskin works just as well, and the military doesn’t care about the aesthetics of grain patterns.)
[Compare different animal leathers in our guide to choosing the best leather for jackets]

Tanning Method
We also need to pick a tannage or the method to tan the hide. This will affect the look, feel, and color of the leather.
Most colored leathers are chrome tanned, it’s a process where chromium is added to the hide to help speed up the tanning process. Invented in the 19th century and now ubiquitous, chrome tanning costs less, takes less time, and makes for softer leather that’s easier to break in and easier to dye. So there are a lot of upsides.
I decided to go with a vegetable tanned leather. It’s very durable because the process is less harsh on the fibers, doing it takes more skill, and I just like that it’s the old fashioned way to make leather.
The hide had already gone through a basic level of vegetable tanning in India. My job was to turn it into leather that’s ready for boots.
It had also been retanned here in Mexico with lanolin and other materials to make it softer and easier to work with. (That it’s less soft and stretchy, making it harder to work with, is a big reason many bootmakers avoid veg tanned leather. In addition to the extra cost and the fact that more customers complain about the stiffness.)
Lanolin is this really useful chemical that comes from sheep’s wool. It gives wool a natural protective coating and people use it for all sorts of purposes, like moisturizers and Vitamin D supplements — as well as softening leather.
Veg tanned leather is made by using bark and other plant matter, which contains tannins. But we’re going a step further with this goatskin leather by making it a pull up leather. This means it’s been infused with an array of oils and waxes that improve its durability and water resistance.
So this pull-up effect is really something I want, and it’s rare to see, especially with a veg tanned leather. This combo of pull-up, vegetable tanned, goatskin leather is something pretty interesting that I’ve never seen on a pair of men’s boots.
[Learn More About Pull Up Leather]
Dye
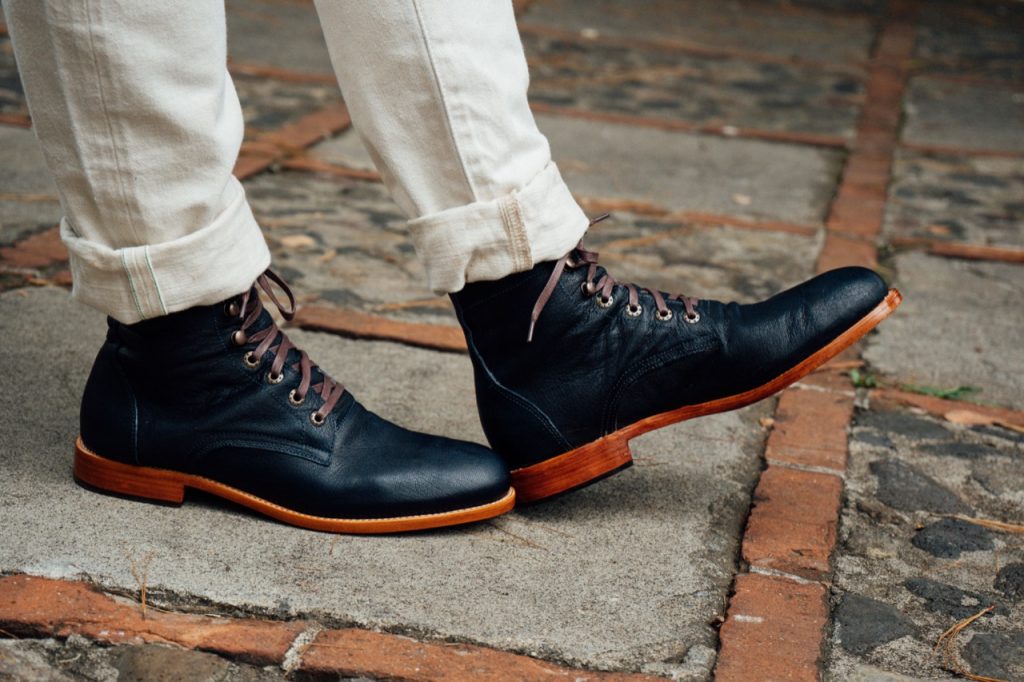
The final thing I had to choose before starting my work was the color, so I put a poll on Instagram and the people chose blue over red.
This presented a tiny problem: I wear a lot of denim and I don’t want my jeans to match my boots. The trick is going to be to get the leather darker than the average pair of jeans.
The extra oils and waxes we add to get the pull-up effect will help with this. Mariana Collazo, the granddaughter of Lefarc’s founder, helped me through the process. She told me we would color match the dye to the same color as a pair of jeans, then at the end of the process, when we add the oils and waxes, the leather will darken even more.
How to Make Leather
So that’s how I chose blue, pull-up, goat skin leather. Next, I’ll walk you through each step of the process.
Technically, in the leather making world, these steps are called finishing, because the leather had already been tanned. We’re making it into a sellable product.
Step One: Dye the Leather
We used an aniline dye to make it as dark blue as possible. Aniline is an organic chemical that is used in the synthetic dye industry and was discovered while experimenting with natural indigo. It then became one of the key ingredients in early synthetic indigo dyes.
Aniline stains the leather, much like wood stain you use when dying lumber. You get a nice dark color, but keep the visible grains and texture of leather instead of a painted on surface coating. This also ensures that pull up effect is visible and all the character from that beautiful goat hide are coming through.
[Looking to buy some vegetable tanned boots? – Read This First]
I added five grams of aniline to the dye because it helps make it a darker shade of blue. We kept on dying and covering up all the lighter areas until the leather was nice and uniform and ready to be made into boots. All in, we put about four or five coats on the goat skin.
First, I painted the dye into the leather with a sponge, then we used a spray gun. To even out the color, we added some alcohol to the dye because it made it dry more quickly and it’ added more volume to the dye for when we put it through the spray gun to even out the color.
Step Two: Add Oil
Next you need to add oil to the leather, and we used a mineral oil blend. Mineral oil is usually made from petroleum-based products, but the name is very imprecise. Mariana says, “Lefarc’s mineral oil comes from olive oil, corn and cardamom.” They don’t state the exact ratios and mixes of oils, it’s a bit of a trade secret.
But why do we add oil at all to leather?
“Veg tanning the leather makes it very dry, so we’re going to try to moisturize it,” says Mariana. “It’ll also enrich the color and make it more water resistant.”
We applied the oil with sponge and coated the entire hide to let oil soak in and penetrate the leather.
Step Three: Add Wax
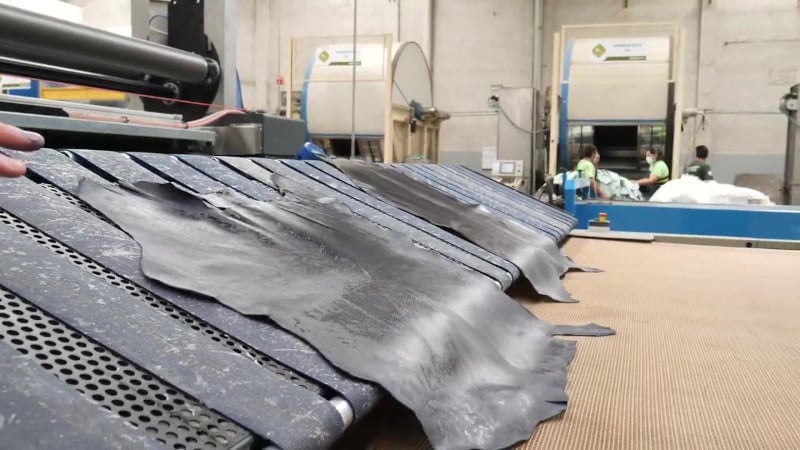
Time to wax, a part of the process is a lot more elaborate than I thought. In my mind, it was going to be similar to adding the oils and we’re were going to rub it with a sponge, but it’s actually a giant wax machine that looks an oversized laminator.
“Wax needs to be really hot,” explains Mariana. “That’s why we can’t do it by hand. It’s going to go through here, and then we have warmers inside, so it’ll be like a heat box.”
I ran my leather through the wax machine twice. The second time was largely for aesthetic purposes: the hot wax will give the leather a nice shine and gloss.
Step Four: Tumbling
I let the leather dry and cool or about three hours, and then we headed over to the tumblers, which are large drums you put the leather in. Tumbling helps soften the stiff veg tanned goat skin even more.

Wrapping Up
And that is how you finish some leather. It’s true that I didn’t quite kill the animal myself, but that is how you dye, wax and tumble leather. Now I have some vegetable-tanned goatskin leather. I’m going to turn it into boots in Guatemala.







Join the Discussion